


The New, Easy Way To Install A Mosaic In Your Space
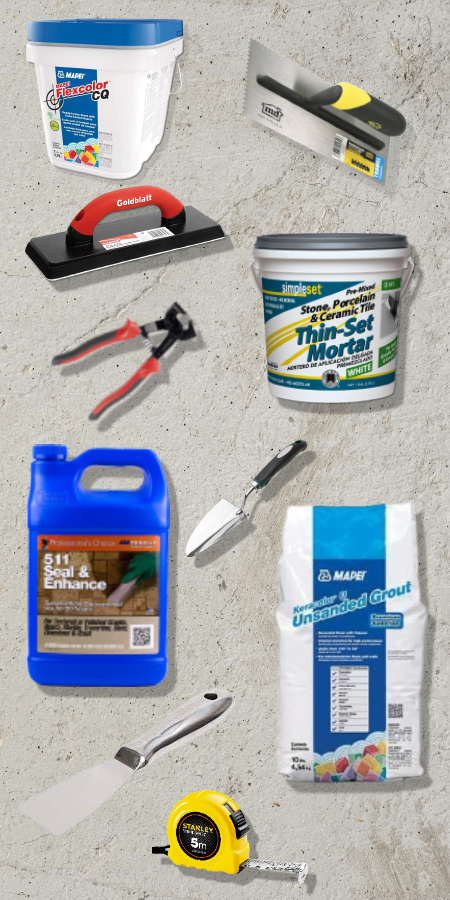
- 1- Color Enhancer: https://amzn.to/3k8eJcz
- 2- Epoxy Grout: https://amzn.to/3ApMb49
- 3- Unsanded Grout: https://amzn.to/3hxnn2s
- 4- Thinset mortar: https://amzn.to/3nBwdA6
- 5- Trowel: https://amzn.to/2YNjKPq
- 6- Notch Trowel: https://amzn.to/3CgmLGD
- 7- Grout Float: https://amzn.to/3CgYZu5
- 8-Tile Nipper
- 9-Cutter
- 10-Meter
- 11-Pen
- 12- Nails
- 13- Taping knife
1- Make sure you clean the surface in order to operate on a smooth and clean surface.
Note : Remove the protective plastic backing and keep the mesh

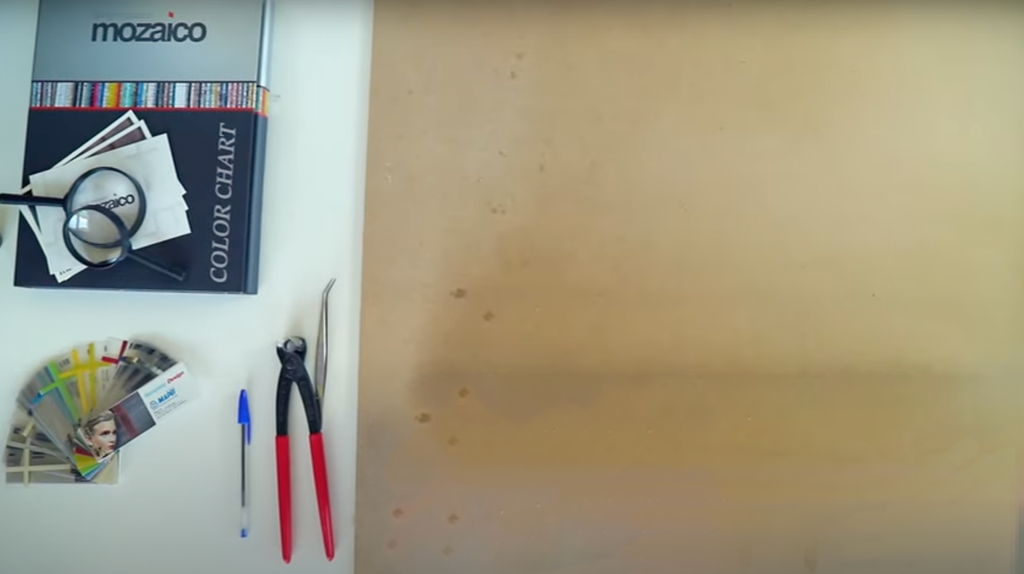
2. Take the necessary measurements for the placement of your mosaic
Note: if the mosaic is huge, you will receive your mosaic divided into many parts and each part will be labeled properly.
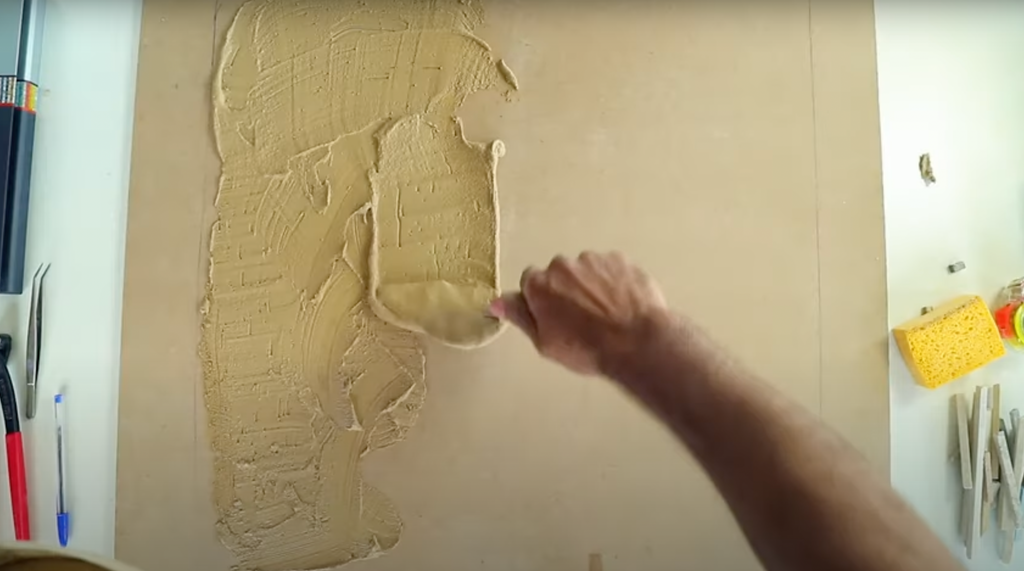
3. Using your plain trowel, begin spreading the thinset mortar to cover the entire installation area.
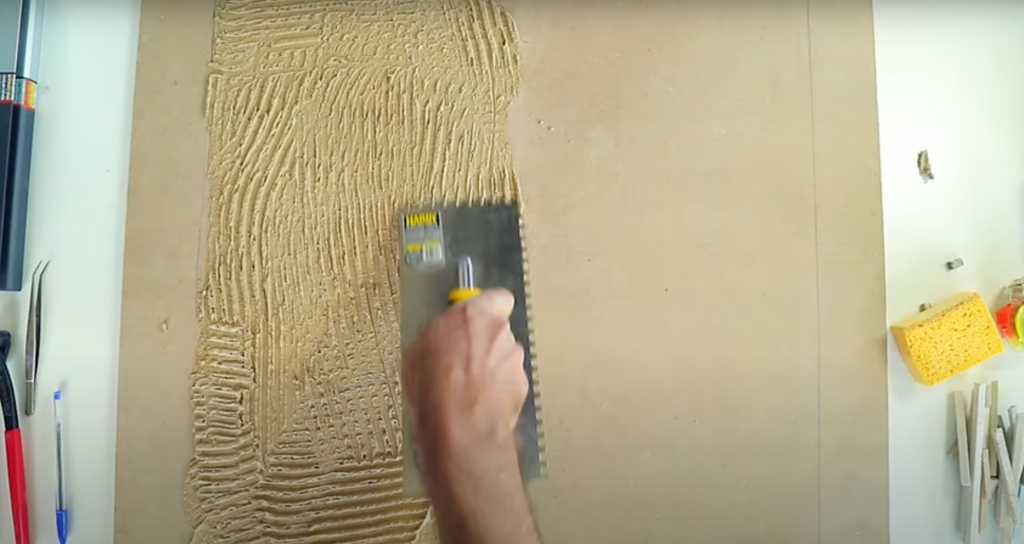
4. Use your notched trowel to even out the mortar before placing the mosaic.
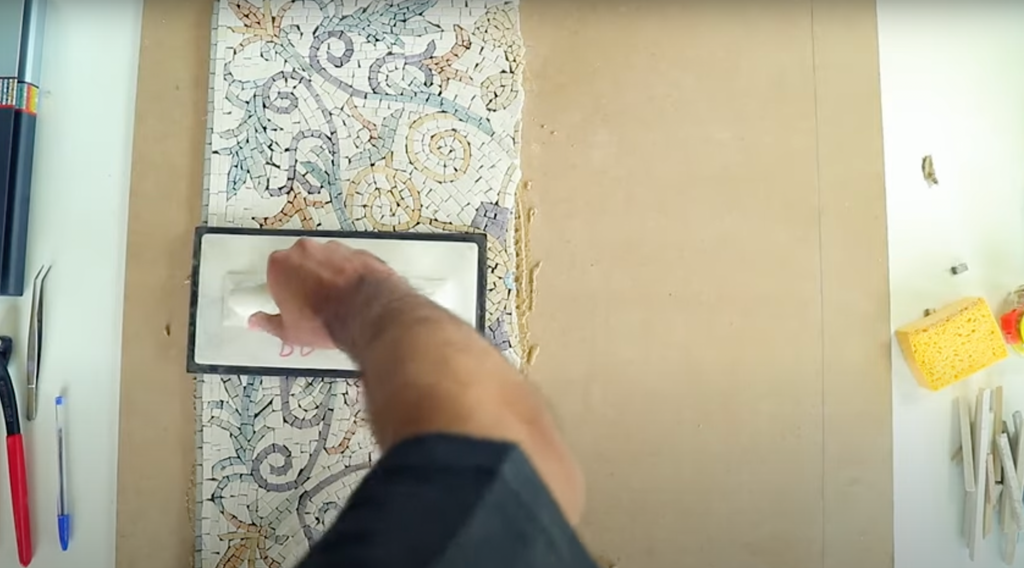
5. Apply the mosaic to the installation area and apply even pressure with a grout float, tapping the entire surface using a tapping knife.
Note: If you’re installing your mosaic on a vertical surface, such as a wall insert, place some small finish nails between the stones to keep the mosaic in place.
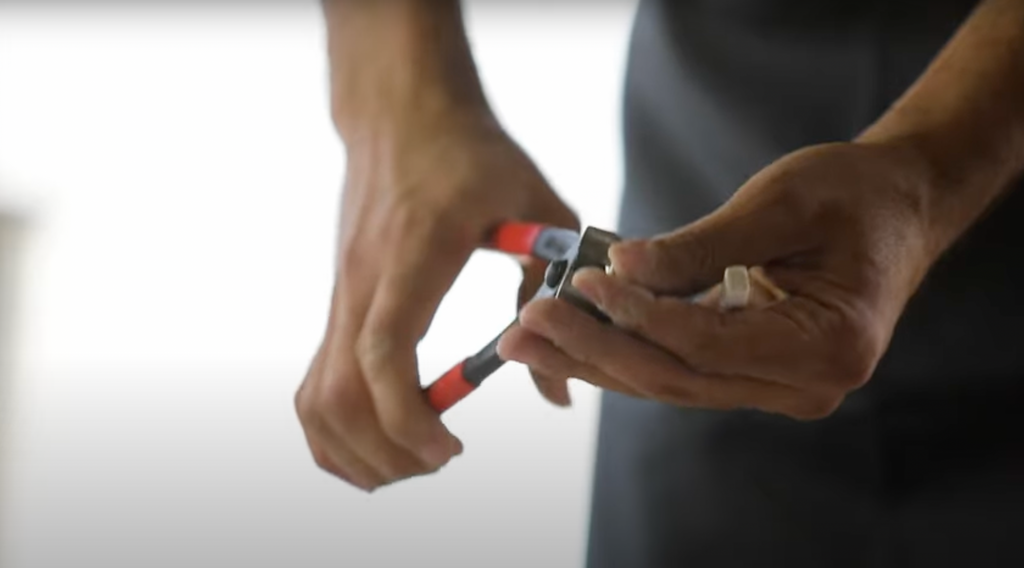
6. If there are any stones that have fallen out, use the extra tiles inside the plastic tube. Cut them with the tile nipper to fit the missing stones and glue them similarly.
7- Grout your mosaic in case it is going to be installed as a kitchen backsplash, or in wet areas like bathrooms, floors, and outdoors. It isn’t needed for indoor installations in dry areas.
Note: we recommend charcoal gray unsanded or epoxy grout, as it displays contrast and enriches the color of the mosaic giving it a coherent and bold look.
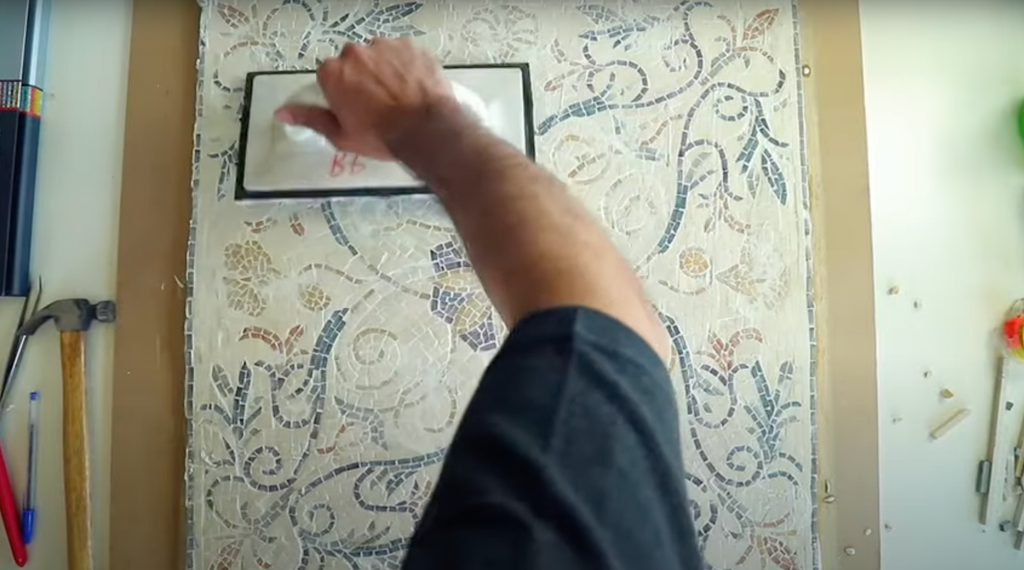
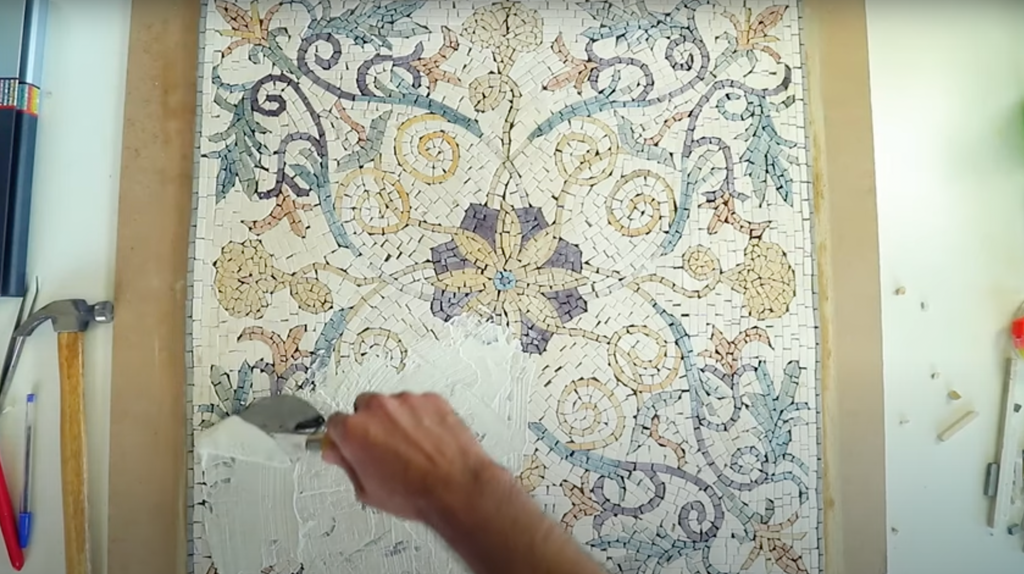
8- Using a grout float, press the grout into the grout lines evenly then use a damp sponge to clean the surface from the hazing.
Note: Repeat the process as many times as needed to eliminate any haze.
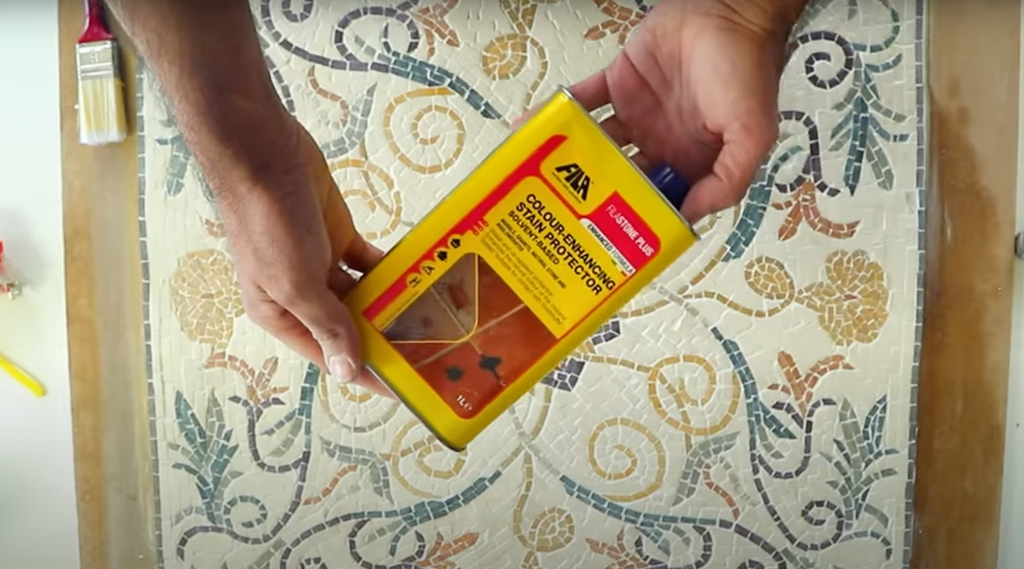
9- Buff your mosaic with a clean cloth and apply a good quality stone color enhancer.
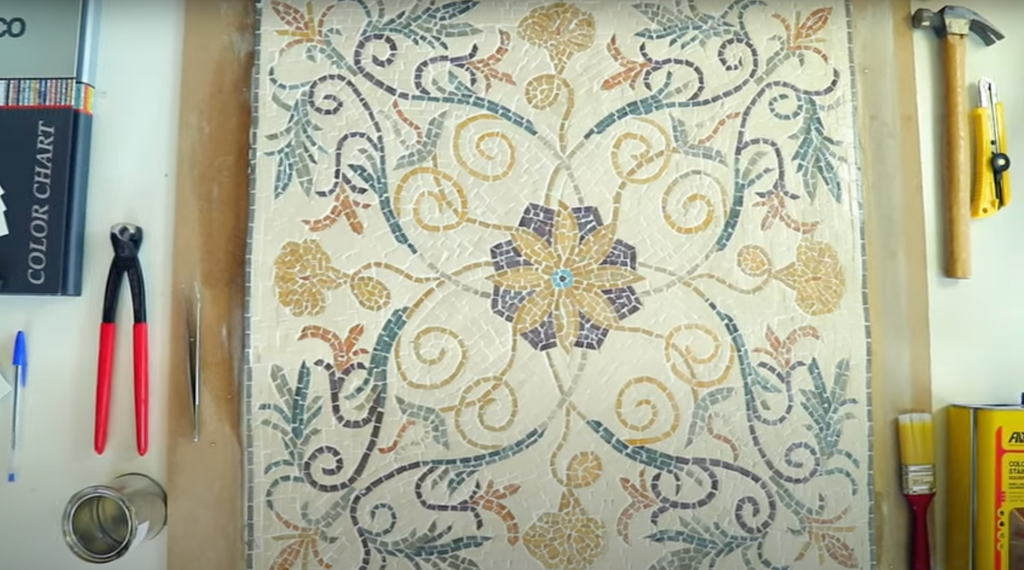
Your installation is now complete and you can admire your mosaic forever! Voila!