Close
Try Your Luck
With Mozaico
With Mozaico

Try Your Luck
With Mozaico
With Mozaico
Email Already Subscribed

we ship worldwide

money back guarantee

exclusive
630.300.3942
What can we help you with?
Shipping & Taxes. FAQ.630.300.3942
What can we help you with?
How to install a mosaic.Get one-on-one expert advice from our lead designer to help you transform any area around your home or work.
Fill out the form below to submit your designer question.
Take a picture of a room in your home, a floor area or a table top that you would like to ask a question about - or simply anything you would like to make into mosaics.


A mosaic table top is one of the few pieces of furniture you can genuinely make yourself and still be pleased with ten years later. The surface is hard-wearing, it does not mind a spilled drink, and the colour does not fade the way paint or stained wood does.
It is also the standard rescue for a table that is otherwise finished — a water-ringed Victorian side table, a garage-sale coffee table, a patio set with a cracked top. The frame is usually fine. It is the surface that has gone.
This guide covers how to make one from start to finish, then the patterns and shapes worth considering, and finally what to do if you would rather not spend a week on it.

The work itself is not difficult. What catches people out is the waiting: several stages have to dry overnight before the next one can start, and rushing any of them is how a table ends up with lifting tiles or soft grout.
| Stage | Hands-on time | Then wait |
|---|---|---|
| Plan the layout | An hour or two | — |
| Prepare the surface | An hour | — |
| Paint (optional) | 30 minutes per coat | Overnight, twice |
| Seal the paint | 20 minutes | Per the tin |
| Set the pieces | The longest stage | Overnight |
| Grout | An hour | 24 hours |
| Seal the finished top | 30 minutes | Per the tin |
Allow a week. Not because the work fills a week, but because the drying does. If this is a gift, start well before you think you need to.
| For | Items |
|---|---|
| Layout | A table, paper large enough to cover the top (butcher's paper is ideal), tape, scissors |
| The mosaic | Glass gems, glass tile, ceramic tile, river stones or beads — anything flat enough to sit level |
| Breaking tile | A hammer, two old towels, eye protection and gloves |
| Surface prep | Sandpaper or a belt sander, a dry cloth, mild dish soap, a bowl |
| Optional paint | Furniture paint, brush or roller, paint sealer |
| Fixing | Tile adhesive, mastic or mortar |
| Grouting | Grout, a clean bucket, a trowel, a plastic card you can throw away, a sponge |
| Finishing | Penetrating sealer spray suited to your materials |
Quantities depend entirely on the size of your table, which is why no list can give them. The paper template you make in the first phase is the thing to take to the shop.
Work somewhere well ventilated that is not a room you use daily — a garage, shed, basement or attic. Three reasons, all practical: paint, adhesive and grout all off-gas while they cure; you need floor space around you; and smashed tile ends up on the floor, which is a problem if children or pets walk through.
Wear eye protection and gloves when you break tile. Ceramic and glass throw sharp fragments, and the towel trick below contains most but not all of it.
Tape paper over the table top and cut it to the exact shape of the surface, then peel it off intact. Use light tape: this template has to survive being removed.
Now break your tile. Put the pieces between two old towels on the floor and hit them through the top towel with a hammer. The towels stop fragments flying and let you control how fine the break is. Lift the towel and pick out the pieces you want. Materials that do not need breaking — river stones, beads, pre-cut tesserae — can simply be sorted.
Lay the pieces out on the paper template and move them around until the design works. This is the stage worth taking your time over, because it costs nothing to change your mind here and a great deal once there is adhesive involved.
If the table is wood, sand it until the surface is uniform — sandpaper for a small top, a belt sander for anything larger. Metal, stone and granite tops can skip this. Dust the surface off with a dry cloth and check it again in a raking light for high spots; sand and dust again if you find any.
Then wash it with a little mild dish soap in water and let it dry.
Painting is optional but depends on your materials. If you are using translucent glass gems or clear shards, the colour of the table beneath will show through every piece, so paint it first in a colour you have chosen deliberately. Use furniture paint on wood, expect to need two coats, and leave each one overnight. Seal the paint afterwards — water or oil-based, following the tin — to stop water damage later.
Tile adhesive, mastic or mortar all work; any of the three is sold by home improvement shops. Transfer the pieces from your paper template to the table, gluing as you go, and work from one edge inwards rather than starting in the middle — it is much easier to keep the design aligned that way.
Anything you want to reposition has to be moved before the adhesive grabs, so keep checking back over what you have laid. When the whole top is done, leave it overnight.
The way the rows of pieces flow is what separates a good mosaic from a flat one; our guide to the four methods of making a mosaic covers that properly, and the basics of mosaic art is the place to start if this is your first project.
Mix grout powder with water in a clean bucket, following the label, and keep mixing until there are no lumps at all. Lumps are the main cause of a finish that will not level.
Spread it across the entire surface, working it down into every gap between the pieces. It feels wrong to smear grout over a design you have just spent hours laying, but this is what locks the pieces in place and levels the top. Work it level with the trowel, then drag a plastic card across the surface to scrape off the excess.
Leave it 24 hours, not overnight. Grout that has not fully set will lift when you clean it. Then wash the surface with soapy water and a cloth, using a sponge on any haze that will not shift, and wipe it dry.
Spray the finished top with a penetrating sealer suited to the materials you used, then go over the tiles with a damp cloth so the sealer does not dry as a film on their surface. That wipe also helps the grout take up the sealer, which is the part that actually needs protecting. Leave it to dry and clean it once more.
For an outdoor table this stage is not optional. Unsealed grout outdoors takes on water, softens, and grows mildew, and once that starts the pieces begin to loosen.


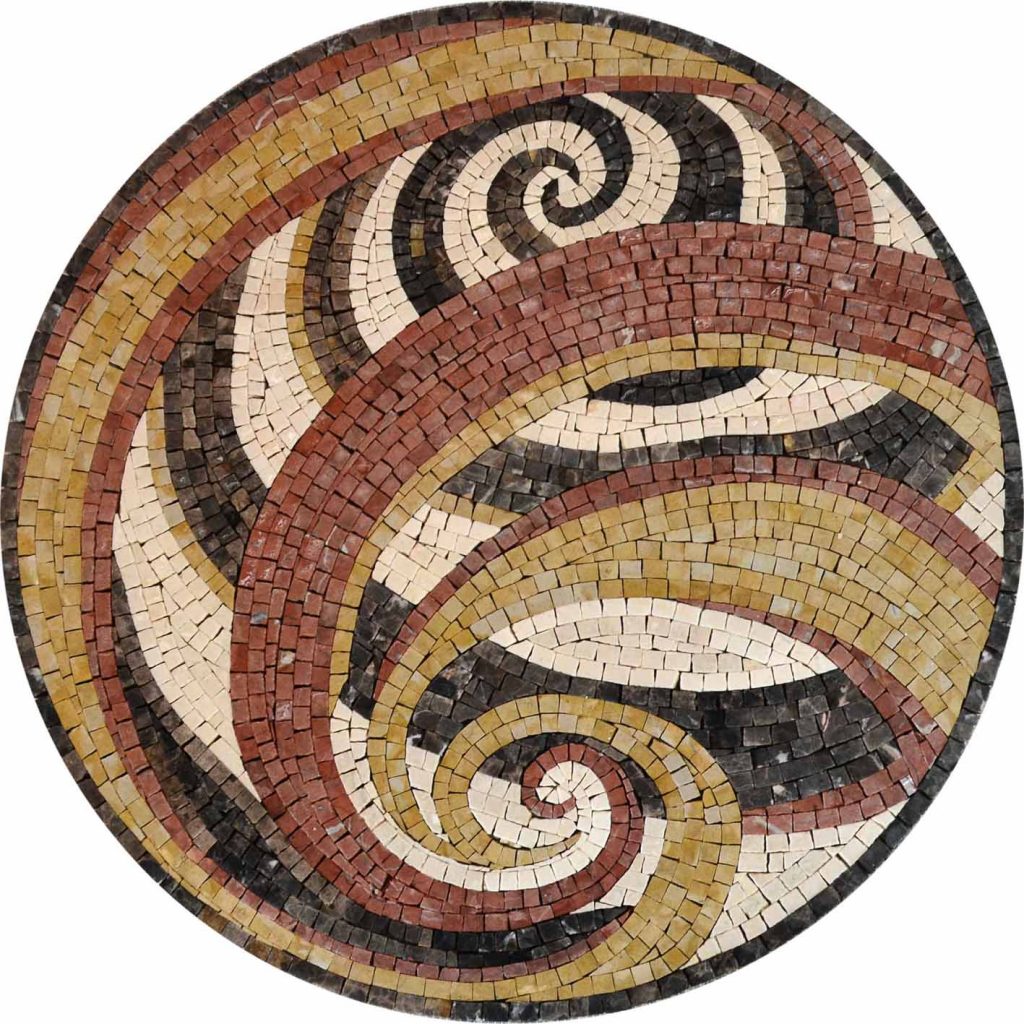


Round tops and mosaic have an old relationship, because a circle gives the design a centre to radiate from. A medallion — a pattern built in rings around a central motif — is the natural answer, and it has the practical advantage of reading correctly from every seat, which matters on a table more than on a wall.
Suns, moons, compass roses and spirals all work for the same structural reason: they are radial to begin with. Figurative subjects need a little more thought, because a bird or a palm tree has an obvious right way up and somebody will always be sitting at the wrong side of it.


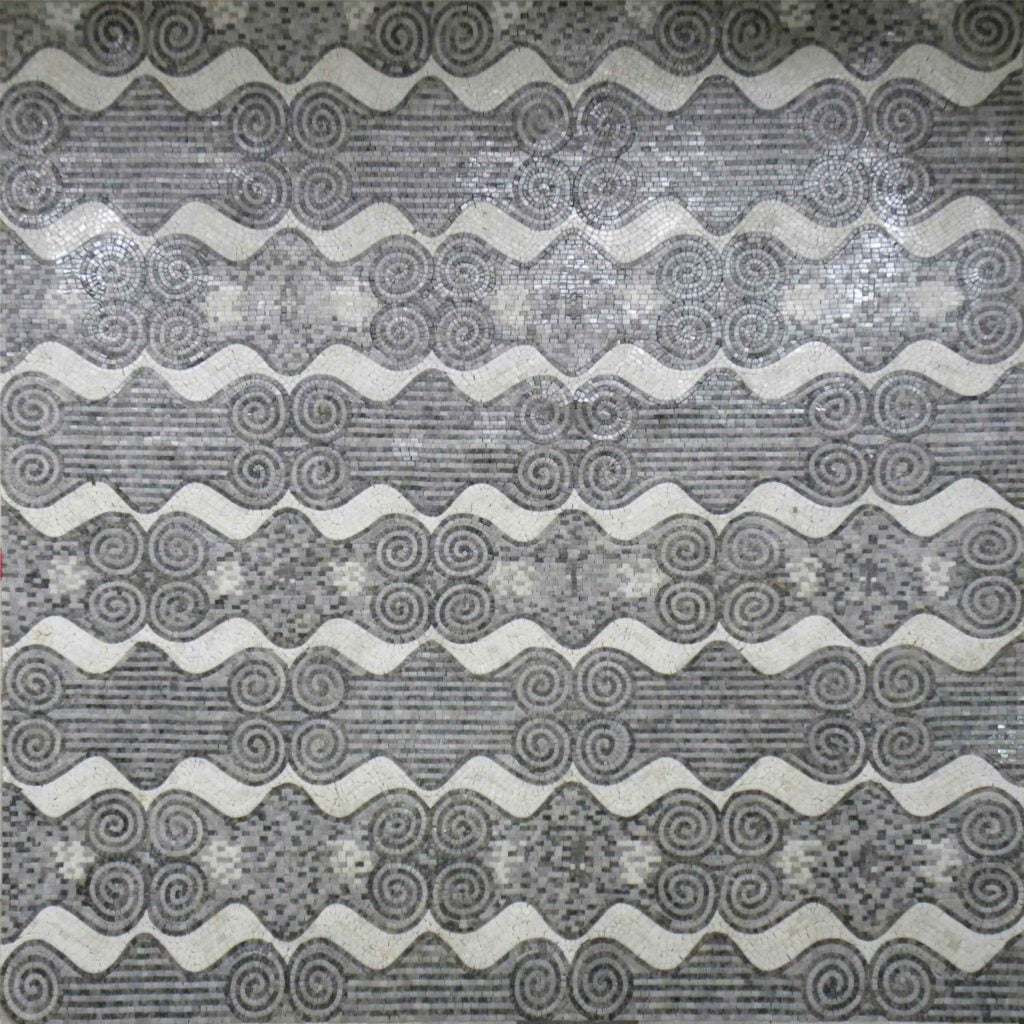

Rectangles are harder than circles and get written about less, which is odd given how many dining and coffee tables are rectangular.
The problem is that a rectangle has no centre to organise around, so a single central motif tends to leave the ends looking empty. Three approaches work:
An all-over repeat is also the most tolerant of a DIY build, because any small accumulated error disappears into the pattern instead of showing up as a lopsided centre.


Indoors it is most at home as a coffee, side or entry table — surfaces that get knocked about and benefit from being genuinely wipeable. On a dining table the surface handles spills without ceremony; there is no need for coasters or table protectors, and no next-day treatment of water marks.
Outdoors is where the material really earns its place. Mosaic has been used on outdoor surfaces since Greek and Roman times, and the reasons have not changed: stone and glass hold their colour in sunlight, they do not rot, and they do not mind rain. A patio table is also the easiest first project, because a slightly uneven result matters less outside.
The one thing to get right outdoors is sealing, covered in Phase 5. If you are fitting a ready-made top rather than building one, how to install a mosaic covers the mounting.


Pick the colours against the room rather than against each other. A table top sits in the middle of a floor and below eye level, which means it is almost always seen with the flooring in the same glance — that is the thing to match, more than the walls.

Marble gives you natural variation within a single stone type, which is what makes gradients possible; glass gives flat, saturated colour and catches the light. Most designs use both. Our guide to tesserae and mosaic stones explains what each material actually does, and the mosaic glossary covers the terms.
If you want to see a design before committing to it, the AI mosaic generator will turn a written description into a design in a few seconds — useful for testing a colour idea against your room. There is more on how that works in our guide to AI mosaic design.
Making one is satisfying and the result is yours. It also takes a week, a space you can make a mess in, and a tolerance for the stage where the whole thing is covered in grout and looks like a mistake.
The alternative is a ready-made top, which arrives as a finished mosaic to be fitted to a base you already have. Shapes do not have to be standard: an irregular table can be matched by tracing its outline and sending us the template, and colours can be adjusted to suit the furniture and floor around it. Start at tabletop mosaics, or custom mosaics for something that does not exist yet.
All our mosaic pieces carry a lifetime warranty.
Tabletop mosaics · Mosaic wall art · Custom mosaics
Cut a paper template to the shape of the table and lay your design out on it; sand and clean the table, painting it first if you are using translucent pieces; glue the pieces down working from one edge inwards and leave overnight; grout the whole surface, scrape it level and leave 24 hours; then seal it. Allow a week overall, because the drying stages cannot be hurried.
About a week, though only a day or two of that is actual work. Paint needs overnight between coats, adhesive needs overnight to set, and grout needs a full 24 hours before it can be cleaned.
Tile adhesive, mastic or mortar. All three are sold by home improvement shops. Ordinary craft glue will not hold up on a surface that gets wet or warm.
Indoors it is advisable; outdoors it is essential. Unsealed grout absorbs water, softens and grows mildew, and the pieces start to loosen once that happens. Use a penetrating sealer suited to your materials and wipe the tiles afterwards so it does not dry as a film.
Anything flat enough to sit level: glass gems, glass tile, ceramic tile, cut marble, even river stones or beads. Glass gives flat saturated colour, marble gives natural variation and subtler gradients. Avoid pieces of very different thicknesses in the same top unless you are prepared to bed them individually.
A medallion — a design built in rings around a central motif. It reads correctly from every seat, which a one-way-up picture does not. Suns, compass roses and spirals suit the shape naturally.
An all-over repeat such as stripes, chevrons or waves is the most forgiving, and small measuring errors vanish into the pattern. A patterned border with a plain centre also works well on dining tables. A central medallion needs corner work to stop the ends looking bare.
Yes, provided it is sealed. Stone and glass hold their colour in sunlight and do not rot, which is why mosaic has been used outdoors since antiquity. The grout is the vulnerable part, not the tesserae.
Yes. Trace the outline of the table and send the template in, and the design is made to that shape. Colours can be matched to the existing furniture and flooring.
Soap and water. That is genuinely all it needs, which is much of the appeal.


1 comment
Najboljša okrogla s hiškami