Close
Try Your Luck
With Mozaico
With Mozaico

Try Your Luck
With Mozaico
With Mozaico
Email Already Subscribed

we ship worldwide

money back guarantee

exclusive
630.300.3942
What can we help you with?
Shipping & Taxes. FAQ.630.300.3942
What can we help you with?
How to install a mosaic.Get one-on-one expert advice from our lead designer to help you transform any area around your home or work.
Fill out the form below to submit your designer question.
Take a picture of a room in your home, a floor area or a table top that you would like to ask a question about - or simply anything you would like to make into mosaics.


To make mosaic coasters: choose a design, prepare a sealed base, cut and test-fit the tiles, glue them down, let the adhesive dry completely, grout, and seal. A set of four takes an afternoon plus drying time. Work within a 4″×4″ square and leave room for grout between the pieces.
Coasters are the project most people should start with. They are small enough to finish in one sitting, flat enough to forgive uneven cutting, and useful at the end. Mosaic tile and glass mosaic tile are also genuinely suited to the job — they are tough, they resist water, and they look good doing it, which is more than can be said for a plain slab of cork.
| Item | Notes |
|---|---|
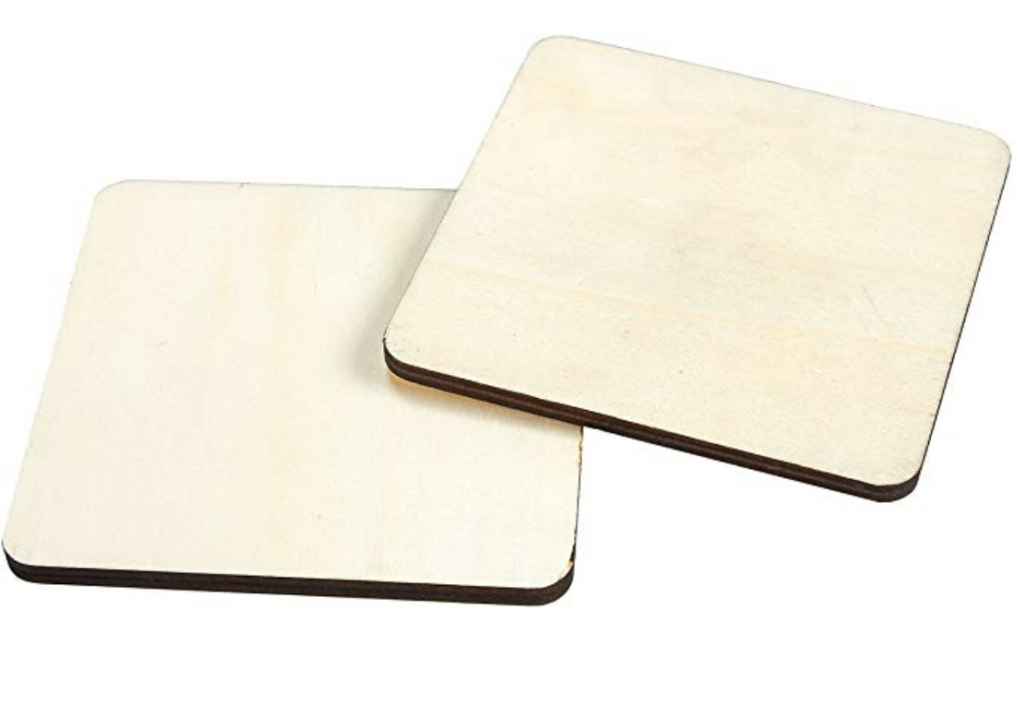
| Coaster bases | Blank wood or cork-backed MDF, round or square, available online |
| Mosaic or glass tile | Both are hard-wearing and water-resistant. Offcuts from a previous project are ideal |
| Tile nippers | For shaping pieces to fit the design |
| Adhesive | Water-resistant — a coaster is a wet environment by definition |
| Grout | Colour changes the look as much as the tiles do |
| Marble sealer | Keeps spills out of the grout |
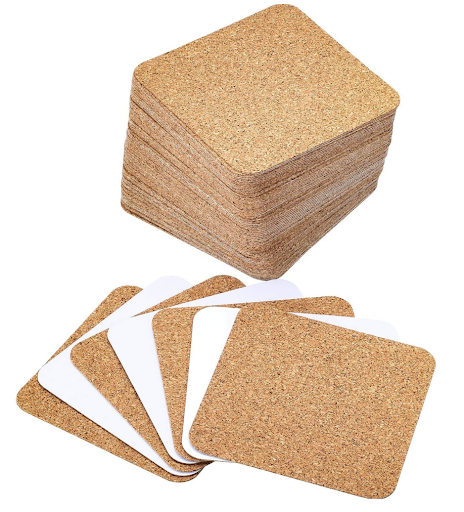
Blank coaster bases are easy to find online in both round and square shapes. Wood and cork-backed MDF are the two easiest to work with.
Seal the wood first, and make sure it is dry. This is the step people skip and regret. Mosaic tile copes with water spills and condensation perfectly well; bare wood does not, and a cold glass will put condensation on a coaster every single time it is used. Sealing it is the difference between a set that lasts years and one that warps in a month.
Painting the base in a complementary colour is a good alternative finish, and it also solves the problem of what shows through the grout lines at the edges.
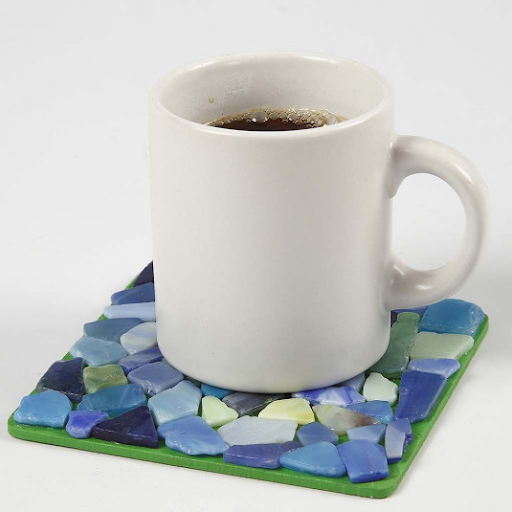
Three approaches, in rough order of difficulty.
Large tile pieces, generous grout lines, no stress about precision. Black grout with big pieces gives a bright, graphic result — a heart in a field of blue, for instance — and the large tiles are easy for small hands to pick up and place, which makes this the best style to do with children.
This is also the style that suits leftovers. Roughly rectangular offcuts from a previous project, set in horizontal lines, make a perfectly good set of coasters with no cutting at all.
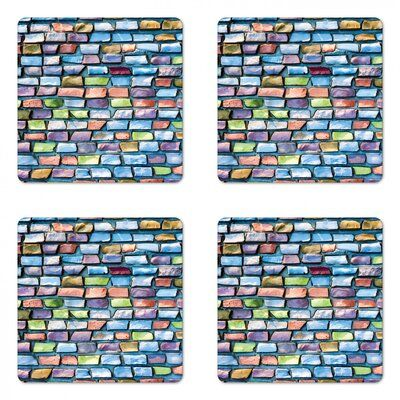
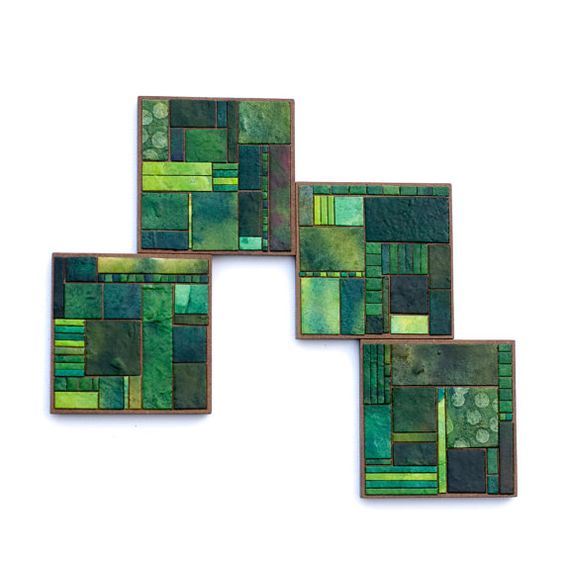
Adding structure takes the result somewhere closer to modern art: repeating shapes, a tight palette, something between a quilting block and a Frank Lloyd Wright window. A Mid-Century Modern palette works particularly well on coasters, and gold glass mosaic tile in an organised pattern gives a set a noticeably more formal air.
These demand even spacing more than precise cutting. Leaving a little more room between pieces makes the pattern easier to execute, not harder.
Still achievable without much trimming, but worth roughing out on paper first. Radiating bands of colour with a small budding branch across them. Round, celestial-inspired designs using a mix of glass and standard tile scraps. Or a set of four coasters that stand alone individually but join into one larger image when pushed together — a good trick, and a natural way to use up an assortment of offcuts.
Glass tile deserves particular consideration for coasters. On a table in sunlight or lit by candles it behaves quite differently from stone, and a coaster is one of the few mosaic pieces that sits out on display during exactly those moments.





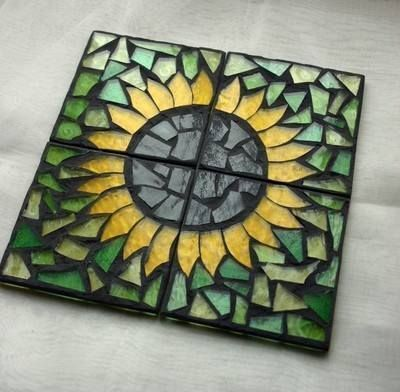
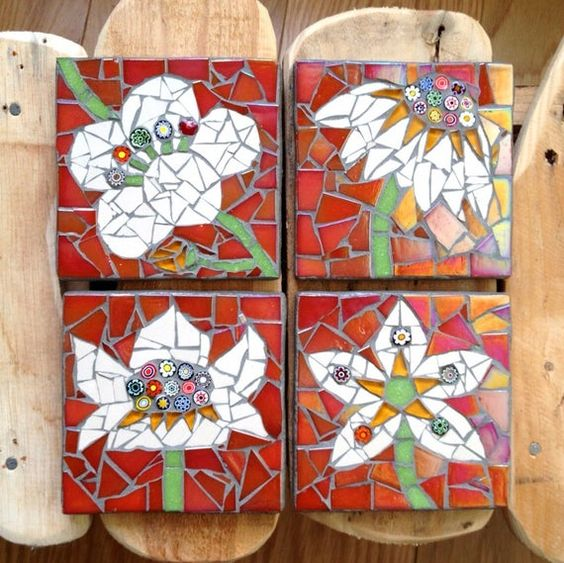
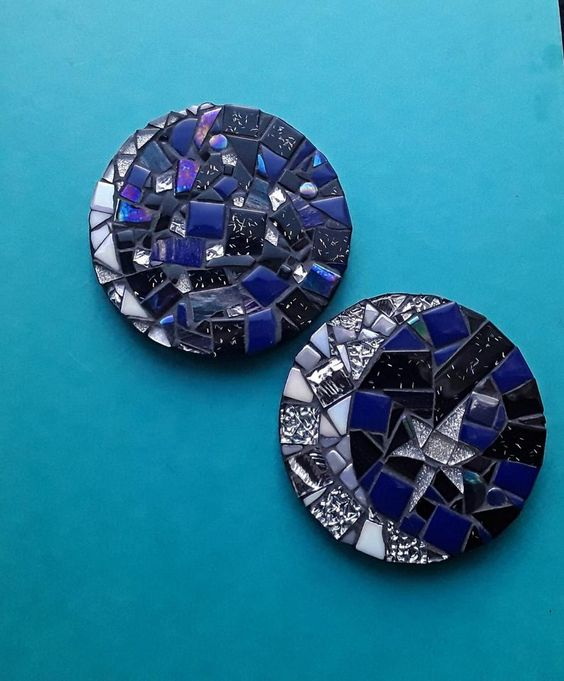

Mosaic does not have to mean tile. These four work on coasters, trivets, box lids and small panels, they cost almost nothing, and they are good projects to do with children.
You need: assorted dried beans and lentils (the more varied in size and colour the better), a surface such as canvas, tile, plywood or an old patio table, thin paper, a pencil, glue and varnish.
You need: seashell pieces, a surface, a sponge brush, paint, mosaic adhesive, grout and a spatula.
Keep the broken shells next time you are on a beach — broken pieces are better for this than whole ones.
You need: beads, bead glue, carbon paper, paper, a pencil, colouring materials, painter's tape and tweezers.
Beads are small and slippery, so sort them by colour before you start — small containers work, and a cupcake tray is ideal, one colour per slot. It saves far more time than it costs.
Sketch the design, transfer it with carbon paper, then place the beads with tweezers. This is the most detailed of the four and the one that rewards patience.
Colour dried pasta with liquid watercolours in a sealed bag, shake it until evenly coated, and let it dry. Arrange the pieces on plywood, a box lid or similar — abstractly or in a pattern — glue, and finish with varnish for shine.
With children: supervise throughout. The hazard with these materials is swallowing glue or small pieces rather than sharp edges.




Mosaic art kits · Mosaic designs · How to start mosaic art · Natural stone tiles
Choose a design and sketch it at full size, prepare a sealed base, cut and test-fit the tiles, glue them down, let the adhesive dry completely, grout in one session, wipe clean after about 20 minutes, and finish with a marble sealer.
4″×4″ is the standard. Sketch the design at that size and leave room for the grout lines between the pieces.
Blank wood or cork-backed MDF, round or square. Seal the wood first and make sure it is dry — a cold glass leaves condensation on the coaster every time it is used. Painting the base in a complementary colour is a good alternative.
Strictly it is optional, but grout is what makes the surface smooth and stable, and it holds the pieces against knocks. Coloured grout also changes the look of the design considerably.
Yes. Grout is porous, so a marble sealer after grouting keeps coffee and red wine out of the grout lines.
Mosaic tile and glass mosaic tile. Both are tough and water-resistant. Glass is more striking in direct light or candlelight; stone reads warmer. Offcuts from a previous project work perfectly.
Yes — dried beans and lentils, seashells, beads and dyed pasta all work on coasters and small panels, finished with varnish, or with grout in the case of seashells.
They are the best one. Small, flat, quick, useful, and forgiving of uneven cutting — and a set of four gives you the repetition that actually builds the skill.


1 comment
Thanks for sharing these. They are lovely and give me inspiration.