


Mosaic Art Guides
3 min read
13599
0
How to create a mosaic art

One of the most frequently asked questions I get from mosaic art enthusiasts is how to make a mosaic tile artwork. No surprise there. Making a tile art is sometimes tricky, and it can be downright terrifying. Having sat with many mosaicists, and tile art artisans as an artist, blogger and now an interested observer, I’ve learned a few things.
The first thing you need to figure out is whether you want to learn how to create a mosaic artwork or a mosaic art.
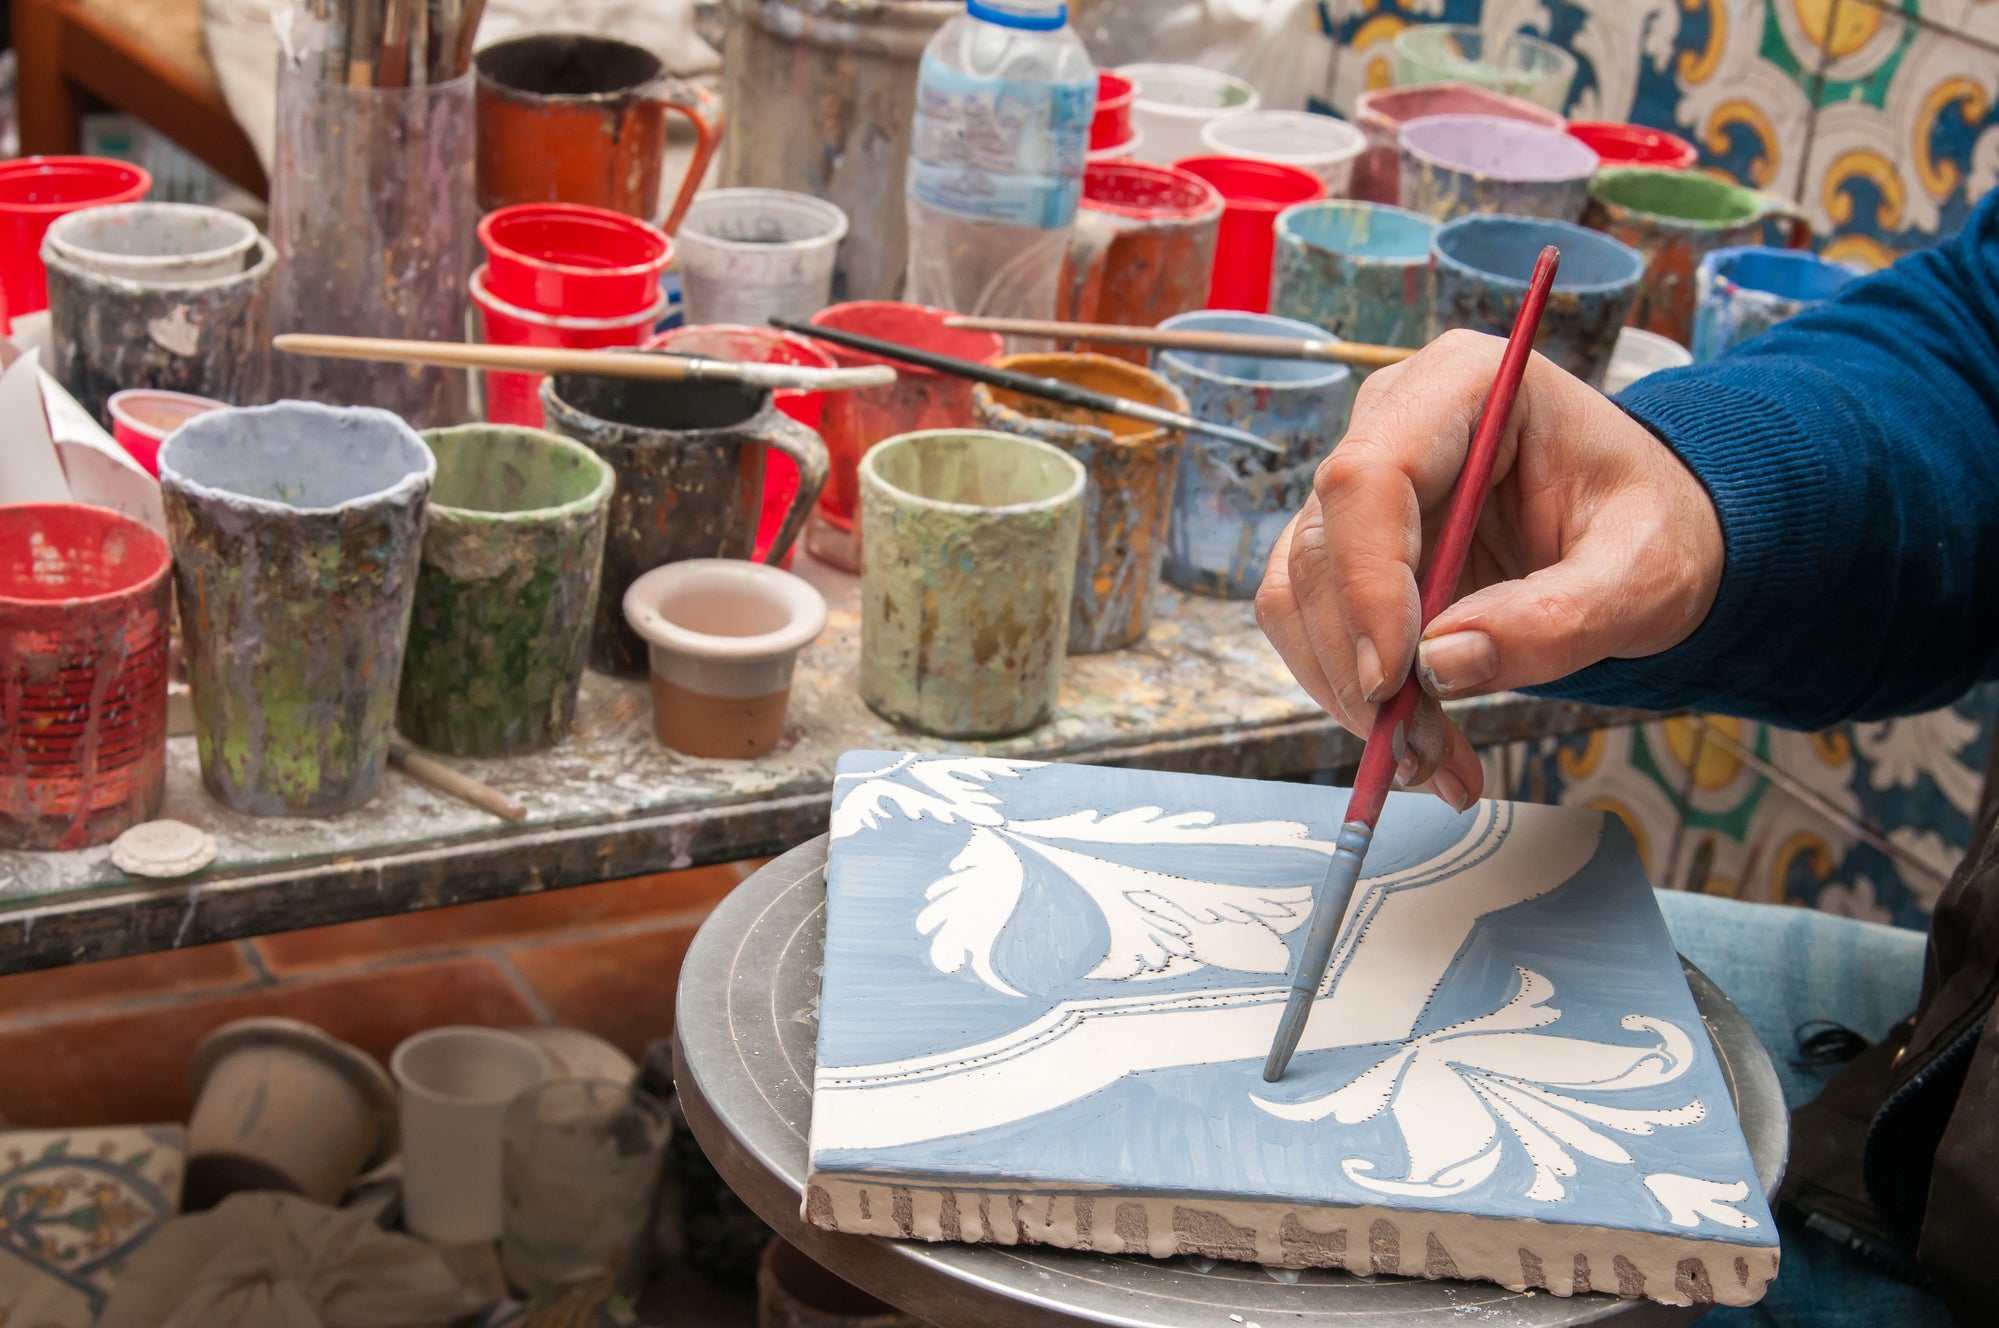
Nonetheless, if you’re trying to learn how to make a mosaic art, this article will teach you in 5 simple steps. A month before the Christmas season, there’s nothing like a handmade gift to bring joy to the special someone in your life, so let’s spend a little time and effort on them this year!
Step One: Prepare and Clean your Tile Surface
First step? Start by cleaning and preparing your tile surface! Clean the square-shaped tile with products that will cut through soap scum, grease, and accumulated dirt. Before you actually select and sketch your design, you should select the medium you wish to include in your project.
Step Two: Selecting The Paint Medium
Practically any paint medium will stick to the surface of a ceramic tile, but not all brands will holdup moisture and maintain a long-lasting glaze. In the end, the choice is always between acrylic (water-based) paints and Oil-based paints. It’s more advisable to use oil-based paints that will adhere well and resist the moisture and can withstand the test of time. Epoxy paint is also another good option, and to maintain the integrity of your tile design plan on using a glossy-finished varnish.

Step Three: Sand The Surface
Lightly sand your tile surface with a 100-grit sandpaper to help the paint bond with glaze, then apply a coat of primer made for floor use. Before you start sketching your design, you will need to think about prepping your tile. While you do have the option of simply rolling the primer and only sketch then paint your design, the best option is to undercoat your tile.Each successive layer needs to be more flexible than the one underneath.

Step Four: Seal
Your tile artwork may discolor, peel or crack over time due to use and moisture. So right after finishing your design and once the paint has completely dried, protect your tile surface by applying two or three smooth, even coat of sealer. Make sure to allow thorough drying between each coat.
Step Five: Let it dry
Last but not least, ensure applying the last coat of sealer it in the opposite direction (or perpendicular) to the first two coats to ensure even coverage. Now that your tiles are stuck in place, you will need to allow them time to dry!
Now that you followed all the steps and done everything right, you will have the perfect handmade gift for your loved one! Guess what? You are now an artist. Keep making art!
Did you enjoy this article? You may also want to know How To Make Your Own Mosaic Artwork
Need further assistance in crafting your mosaic artwork, or selecting your material? Get in touch, and I’ll be happy to help!
Have a mosaic story to share? Whether humorous or horrific, let us know in the comment box below!
Don’t Forget to Subscribe to our Newsletter for Weekly Updates on Mosaic Art, Decor, Creativity and Much More!
Top Posts
View All

A Look Back: The Top 20 Best-Selling Mosaics That Defined 2024

From Memories to Art: Transforming Bucket List Moments Into Mosaic Art Keepsakes

How to Hang Mosaic Art: Common Myths and Misconceptions

From Nature to Art: Capturing the Vibrance of Butterflies in Mosaic Design

Mosaic Art Trends in 2025: What’s Hot, What’s New, and What’s Next
Latest Posts
View All

The Ultimate Statement Piece: Why Mosaic Art is the Perfect Centerpiece for Eclectic Decor

✨Unlocked: Mozaico’s Biggest Sale of the Year is Here! Get Up to 25% OFF All Mosaics

🚀 Black Friday Is Coming: Here’s How to Make the Most of Mozaico’s Sale

Eco Mosaic at Mozaico: Turning Earth’s Treasures Into Timeless Art

Creative Mosaic Art Project Ideas for Every Skill Level